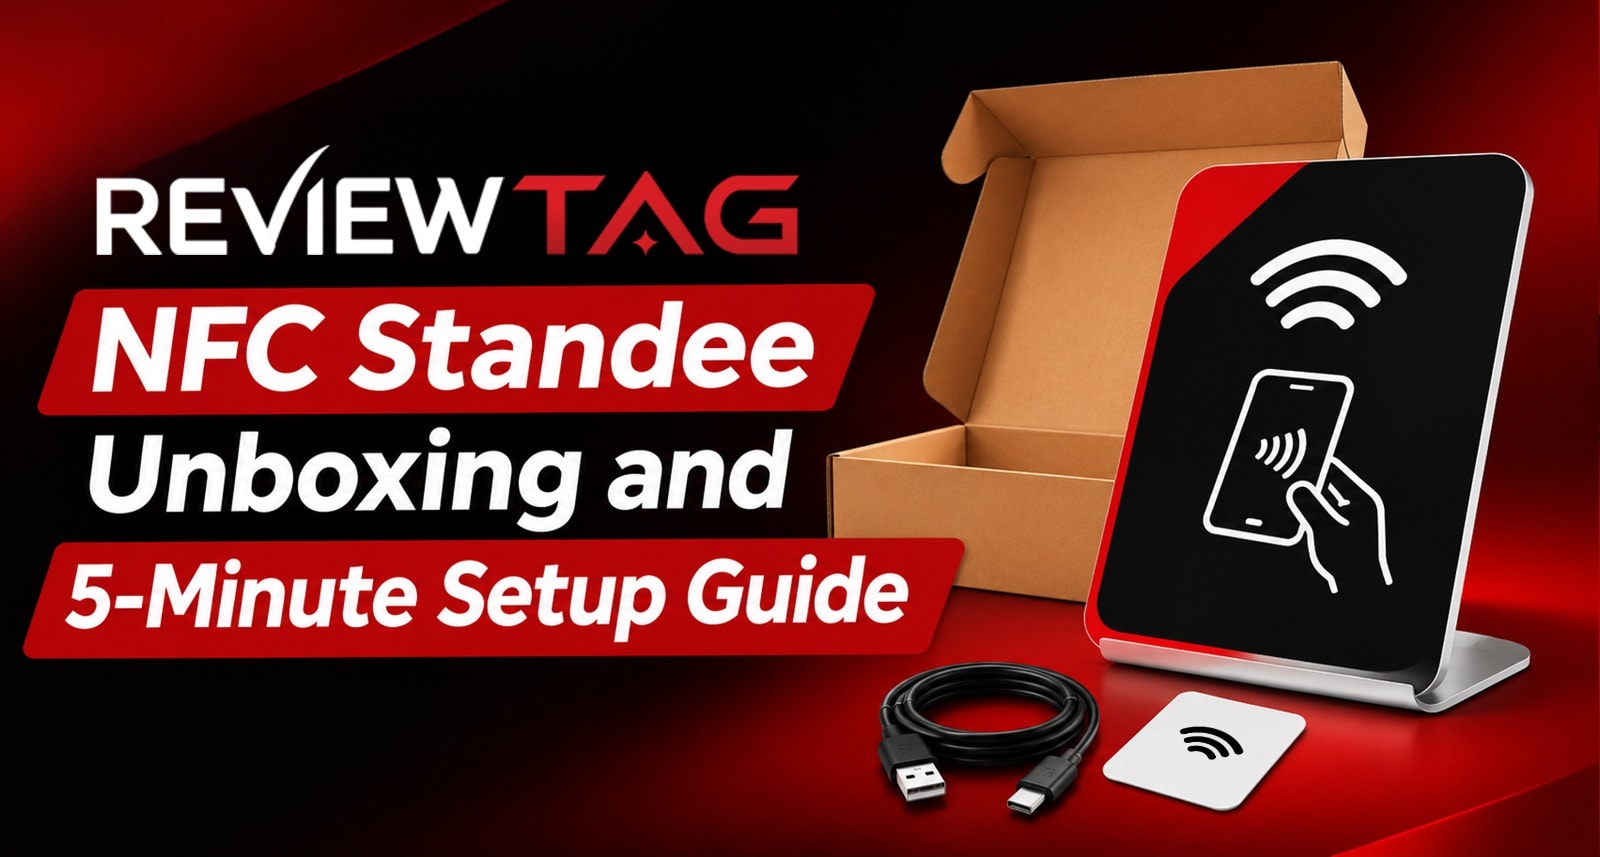
You’ve got a new review standee. Now the useful questions start: What should be in the box? Does the NFC tap need to be programmed? Where should the stand go? And how do you check that it opens the right Google review page?
This guide walks through a quick setup for a ReviewTAG NFC standee, from opening the package to testing both the NFC tap and the QR code. It also covers where to place the standee and how to introduce it to customers without making the review request awkward.
Before publishing: Confirm the package contents and setup details against the current ReviewTAG product and fulfillment process. This guide uses a general tap-and-scan workflow; replace any step that differs from the actual product.
What to Expect from an NFC Review Standee
An NFC Google review standee gives customers two ways to open a review destination:
Tap: Hold a compatible phone near the NFC area.
Scan: Point a phone camera at the printed QR code.
The standee is a prompt and a shortcut. It can make it easier to reach the review page, but it doesn’t write or submit the review for the customer. Customers choose whether to continue and what to say.
Depending on the product version, the standee may be pre-configured or require a destination link to be added. Check the instructions included with your order before trying to edit or program anything. Don’t assume the package includes a separate cable, adhesive, base, printed insert or setup card unless that’s confirmed for the specific SKU.
For a broader comparison of a stand and a hand-held card, see Google Review Stand & NFC Card Combo: Why Pairing Hardware Works Better.
Before You Start
Set aside a few minutes and gather:
Your standee and any items included in its package
A smartphone with NFC enabled for the tap test
A smartphone camera for the QR test
The Google Business Profile review destination you expect customers to reach
A clean, visible counter area for placement
For the most reliable check, use a phone that isn’t already signed in to the Google account that manages the business profile. This helps you see a customer-like experience instead of an owner-only view.
If you’re not sure which review link is correct, open your business’s Google Business Profile and use its review-sharing option to find the link intended for customers. ReviewTAG’s product instructions should specify how this link is associated with your standee.
ReviewTAG NFC Standee Setup in Five Steps
Step 1: Unbox and inspect the standee
Open the package carefully and take out the standee and any included components. Check the face, base and printed code for visible damage, scratches or bends. If the product includes a separate base or assembly piece, attach it according to the included instructions.
Place the standee on a flat surface temporarily. Make sure it stands securely and that the printed QR code is not covered by packaging or a protective film.
Package contents to verify before publishing: List only what is confirmed for the current ReviewTAG standee package. If the order includes a setup card, base, cleaning cloth or other accessory, name it here; otherwise leave it out.
Step 2: Identify the tap area
Look for a tap symbol, NFC label or other marked interaction area. This indicates where a customer should hold a phone to use NFC.
If the standee doesn’t clearly mark the tap point, follow the product instructions rather than guessing. Some NFC components sit behind a printed area, and the best read position can vary by design.
Step 3: Test the NFC tap
Unlock a phone and make sure NFC is enabled if the device requires it. Hold the phone near the standee’s indicated tap area for a moment. Depending on the phone, its NFC reader may be near the top, back or centre of the device, so you may need to move it slightly.
A link prompt should appear on the phone. Tap that prompt and check where it leads. The goal is to confirm that the customer reaches the intended Google review page or the correct ReviewTAG destination.
NFC review collection doesn’t mean a customer has left a review yet. It only gives them a way to open the destination. They still decide whether to write and submit one.
Step 4: Scan the QR code
Open the phone camera and point it at the printed QR code from a comfortable distance. Wait for the link prompt, open it and check the destination.
If the phone struggles to scan:
Move to a brighter area without strong glare.
Hold the phone steady and adjust the distance slightly.
Check that the code is clean, uncovered and not damaged.
Make sure the full code is in the camera frame.
The tap and scan should take customers to the destination intended for this standee. If either method opens the wrong page—or doesn’t open a page—pause before displaying the standee and contact the seller or follow the product’s setup instructions.
Step 5: Place it where customers can use it
Put the standee in the customer’s line of sight, close enough to reach and tap. A counter edge, reception desk or payment area can work well when customers naturally pause there.
Keep the QR code visible and the NFC point accessible. Avoid placing the stand behind glass, beside bright reflections, under a pile of receipts or where staff equipment blocks it. After placing it, repeat the tap and scan tests from the customer’s side of the counter.
That’s the basic NFC review standee setup. The stand is ready to use once both routes open the intended destination and customers can see and reach it.
How to Use an NFC Review Standee at Your Business
The best time to point out the standee is usually after the customer’s main interaction is complete: checkout, a finished appointment, a completed repair or a handover.
Keep the invitation friendly and neutral. For example:
“Thanks for visiting. If you’d like to share your experience, you can tap or scan here.”
That short prompt tells customers what to do without pressuring them. If someone asks for help, show them the tap area or QR code. Then let them choose whether to leave a review.
A Google review NFC stand can be especially useful at:
Billing counters: Customers are already standing nearby, often with a phone in hand.
Reception desks: Visitors can see the stand while checking in or completing a visit.
Service areas: Staff can point to it after explaining completed work.
Cafés and restaurants: A counter or selected table placement can make it easy to find after a meal.
Salons and clinics: Reception is often a clearer choice than placing prompts in private consultation spaces.
A standee works best as part of a good customer experience. Keep the request voluntary, don’t offer a reward in exchange for a positive review, and don’t ask only customers you expect to leave a high rating.
Where Should a Small Business Put Its Review Stand?
Begin with the place customers are most likely to pause and have a free moment. For many small businesses, that’s the main payment counter or reception desk.
If you have multiple areas, add placements only where there is a distinct customer pause point. One stand at a second till may be useful if that till regularly serves a separate queue. A stand hidden in a back office is unlikely to help customers.
For a small shop, try this placement plan:
Business area | Starting placement | What to check |
Shop or boutique | Main billing counter | Is it visible while paying? |
Salon | Reception or checkout | Can clients see it after the appointment? |
Café | Counter or a few selected tables | Is it easy to reach without interrupting service? |
Clinic | Reception, where appropriate | Does the placement respect privacy and the flow of care? |
Workshop | Service handover or billing point | Is the customer finished discussing the job? |
Start with one standee, observe how the team and customers use it, and then adjust the position. If the stand gets ignored, check placement and staff habits before ordering more hardware.
For a size-based look at cards and stands, see Which Google Review Card and Stand Bundle Fits Your Business Size? once that article is live.
NFC Tap or QR Scan: Which Should Customers Use?
The standee offers two ways to reach the review destination, so customers can use whichever feels easier.
Customer action | Best for | What to tell them |
NFC tap | Customers comfortable tapping a phone on a marked area | “Hold your phone here for a moment.” |
QR scan | Customers who prefer using their phone camera | “Open your camera and scan this code.” |
Some customers will recognise a QR code immediately. Others may prefer tapping. A visible QR code also helps when a customer’s phone doesn’t support NFC or NFC is switched off.
If customers seem unsure, don’t turn it into a technical explanation. Point to one option and offer the other: “You can tap here, or scan the code.”
For more on QR placement and managing separate destinations, see QR Code Management: One Code Per Table, Counter or Campaign.
Troubleshooting: When the Tap or Scan Doesn’t Work
The NFC tap does nothing
Check that NFC is enabled on the phone, if the phone has an NFC setting. Unlock the phone and move its reader slowly over the marked area. Some phone models read from a different position, so try the top or centre of the back.
Test with another NFC-capable phone if possible. If several phones fail, check the setup instructions and contact ReviewTAG support before assuming the standee is faulty.
The QR code won’t scan
Try better lighting and reduce glare. Clean the surface gently if it’s dusty, and check that no sticker or protective layer covers the code. Hold the phone steady, then adjust the distance until the code is sharp on screen.
The link opens the wrong place
Stop using the standee until the destination is corrected. Follow the product’s instructions for changing or checking the link, or contact the seller with the order details. Don’t publish an edit or programming step unless the current ReviewTAG product supports it and the process is confirmed.
The page opens, but the customer can’t leave a review
Try opening the destination in a private browser window or on another phone. Confirm it points to the right business and that the customer is signed into a Google account if Google requests it. A business owner’s signed-in phone may show a different experience, which is why a customer-like test is useful.
Staff forget to mention the standee
Choose one point in the checkout or handover routine where the team can make the invitation. Keep the prompt short and place the standee where it naturally fits into that routine. A visible stand cannot help if it is covered, moved or never mentioned.
A Quick Test Checklist
Before handing the standee over to your team, check each item:
The standee is intact and stable.
Any included parts have been assembled using the product instructions.
The NFC tap opens the intended destination.
The QR code opens the intended destination.
Both can be used from the customer side of the counter.
The standee is visible, reachable and free from glare.
Staff know one neutral sentence to introduce it.
The invitation is voluntary and isn’t tied to a reward.
After a few weeks, check whether the chosen placement is working. If activity is low, move the standee or reinforce the team habit before adding more units.
How the Standee Fits with Other Review Hardware
A standee is a fixed prompt: it stays where customers pause. An NFC review card travels with staff and works well when a person is handing something over. A QR code can also be printed on materials customers take away, depending on how the business runs its review request.
The right format depends on where the conversation happens. A shop with one main checkout point may need only a standee. A business with several service staff may benefit from adding cards for handovers. ReviewTAG’s current product range, package options and plan details should be checked before you choose a combination.
Related reading:
Google Review Stand & NFC Card Combo: Why Pairing Hardware Works Better
What a Google Review Stand Should Really Cost in India in 2026
One Plan, Everything Included: What ReviewTAG’s Pricing Actually Covers
Get Your ReviewTAG NFC Standee
A review standee is useful when it makes the next step clear and sits where customers can act on it. Test the tap, test the QR code, place it at a natural pause point and give your team a simple way to introduce it.
Get your ReviewTAG NFC Standee and make customer reviews easier. Explore the ReviewTAG collection or create your ReviewTAG Business account.
FAQs
How do I set up a ReviewTAG NFC standee?
Place it on a stable, visible surface, then test both the NFC tap and QR code with a phone. Confirm that both open the intended review destination. Follow the package instructions for any product-specific setup steps.
How do customers use an NFC Google review standee?
They hold a compatible phone near the marked NFC area and open the prompt that appears. If they prefer, they can scan the printed QR code with their phone camera instead.
Does an NFC review standee need an app or battery?
NFC tags generally communicate with a compatible phone without a battery. The exact ReviewTAG product specifications should be confirmed before making a product-specific claim. Customers may also use the QR code if they prefer to scan.
Can customers use the QR code instead of NFC?
Yes, if the standee includes a working QR code. Test it before display and make sure it opens the intended destination.
Where should I place a Google review stand for a small business?
Start at the main billing counter, reception desk or service handover point—where customers naturally pause and can reach the stand. Keep it facing the customer and clear of glare or obstructions.
Will the standee automatically post a Google review?
No. It takes customers to a review destination. Each customer decides whether to write and submit a review.
About the author

Chandu Venkata Satish
Digital Marketing Consultant & Strategist
Chandu is a Digital Marketing Consultant and Strategist focused on brand growth, Digital positioning, and High-impact marketing solutions. He specializes in transforming ideas into scalable digital success through strategy, innovation, and performance-driven execution.
LinkedIn